Getting started
Sign in with REM Auth, open your organization, add an app and a plan, connect a gateway and take a first test payment.
1. Sign in
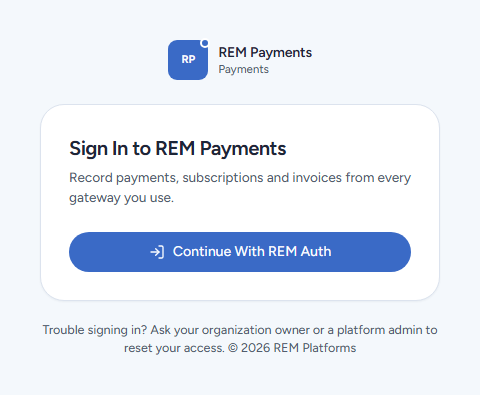
Open rempayments.com/login and choose Continue With REM Auth.
You are sent to REM Auth (auth.remplatforms.com), which shows the REM Payments name. Enter your e-mail or username and password on the one sign-in screen and choose Log in, and your second factor if you have set one up.
REM Auth sends you back to REM Payments, signed in.
REM Payments admits only people whose e-mail address is verified in REM Auth: if you have just created your account, open the confirmation link in the e-mail first. Access is given by your REM Auth team; if you are signed in but see no organization, ask your organization's owner to add you (see Organizations and your team).
To sign out, open the account menu at the bottom of the rail and choose Sign out. This ends your REM Auth session too, so other REM apps in the same browser are signed out as well.
2. Check your organization
Everything belongs to an organization: its apps, gateways, customers and money. Open Team & Settings and fill in:
Organization: name, country and default currency (amounts are always stored in the smallest unit, so ₹499.00 is kept as
49900).Billing Details: legal name, address, GSTIN or VAT number, e-mail and phone. These are printed as the seller on every invoice, frozen at the time the invoice is issued.
Tax: the default rate, the label (for example
GST), whether prices already include tax, and rates per buyer country.
3. Add an app and a plan
Go to Apps & Plans and choose New App (or Create > App). Give it a name; the slug is made from it.
On the app page, open the Plans tab and add a plan: name, price, currency, and billing interval (one time, or every day / week / month / year, with a count such as 3 months for quarterly). Add trial days, a setup fee or a cap on the number of periods if you need them.
See Apps and plans for every field.
4. Connect a gateway
Go to Gateways and choose Create > Gateway. Start with Sandbox: it needs no credentials and lets you complete test checkouts at once. Later connect your real Razorpay, Stripe or other account with its keys; the wizard shows the webhook address to paste into the gateway's dashboard. See Gateways.
5. Take a test payment
Choose Create > Payment Link, pick the app and the plan, and optionally the buyer's e-mail.
Open the link. It is the hosted checkout at
rempayments.com/pay/?s=cs_..., branded with your app's name, logo and colour.Pay with the Sandbox's success button.
Back in REM Payments you will find the payment under Payments, an invoice under Invoices, the buyer under Customers, and for a recurring plan a subscription under Subscriptions.
6. Connect your own site
Your site needs only the app's publishable key (pk_..., on the app page under Keys) to show plans and open checkouts, and a webhook endpoint to learn about payments. The developer docs walk through it with real requests.
Last updated 18 Nov 2026